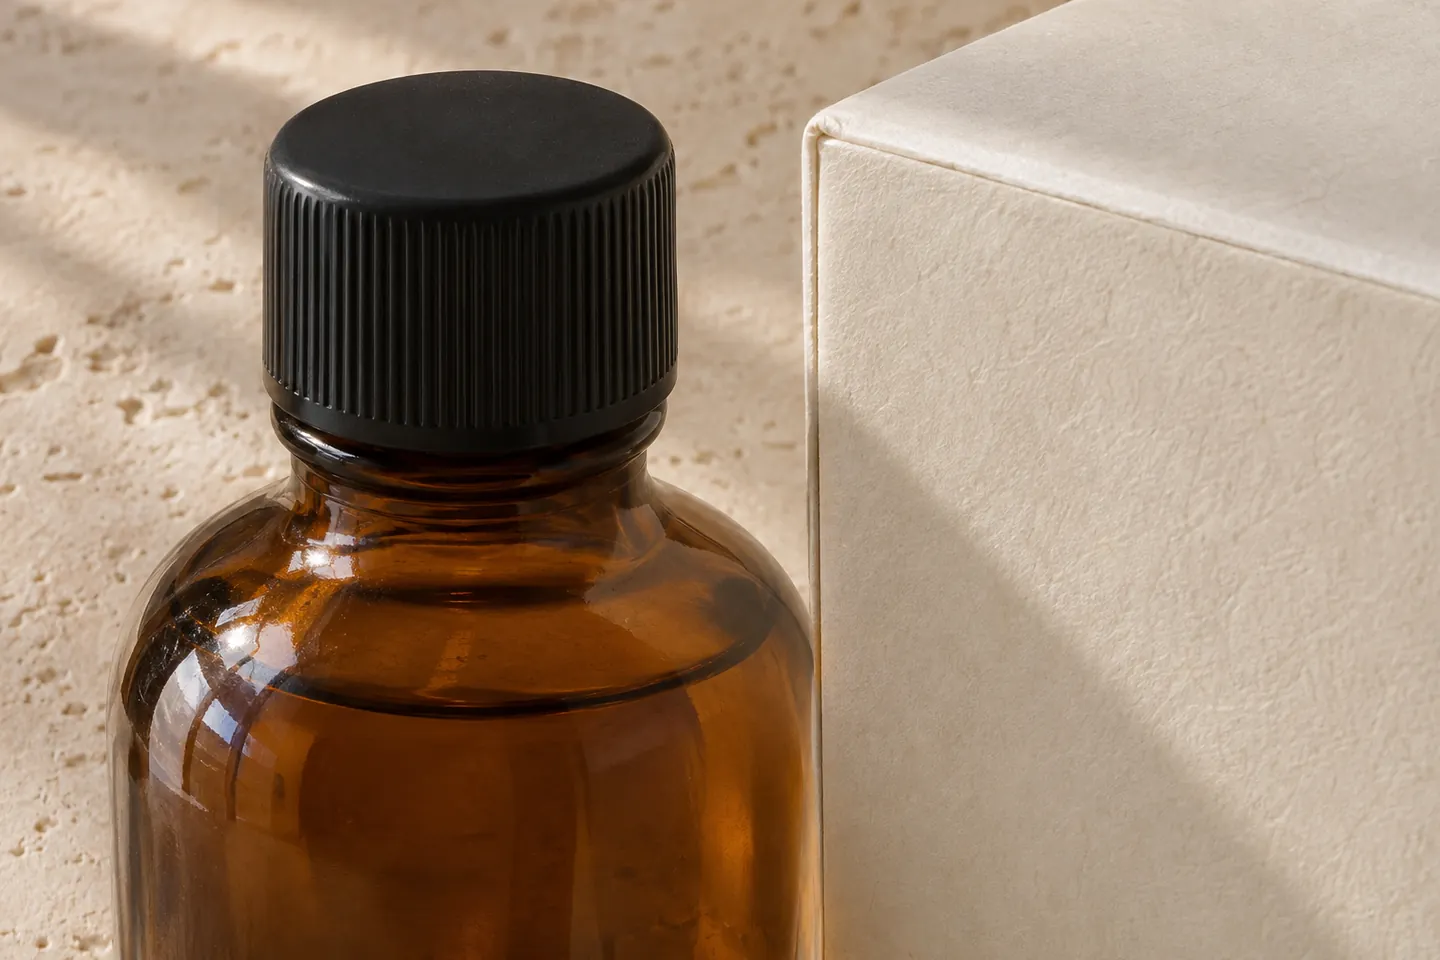
Product Photography for Packaging and Labels
Build a shot list for packaging, product markings, and label details.
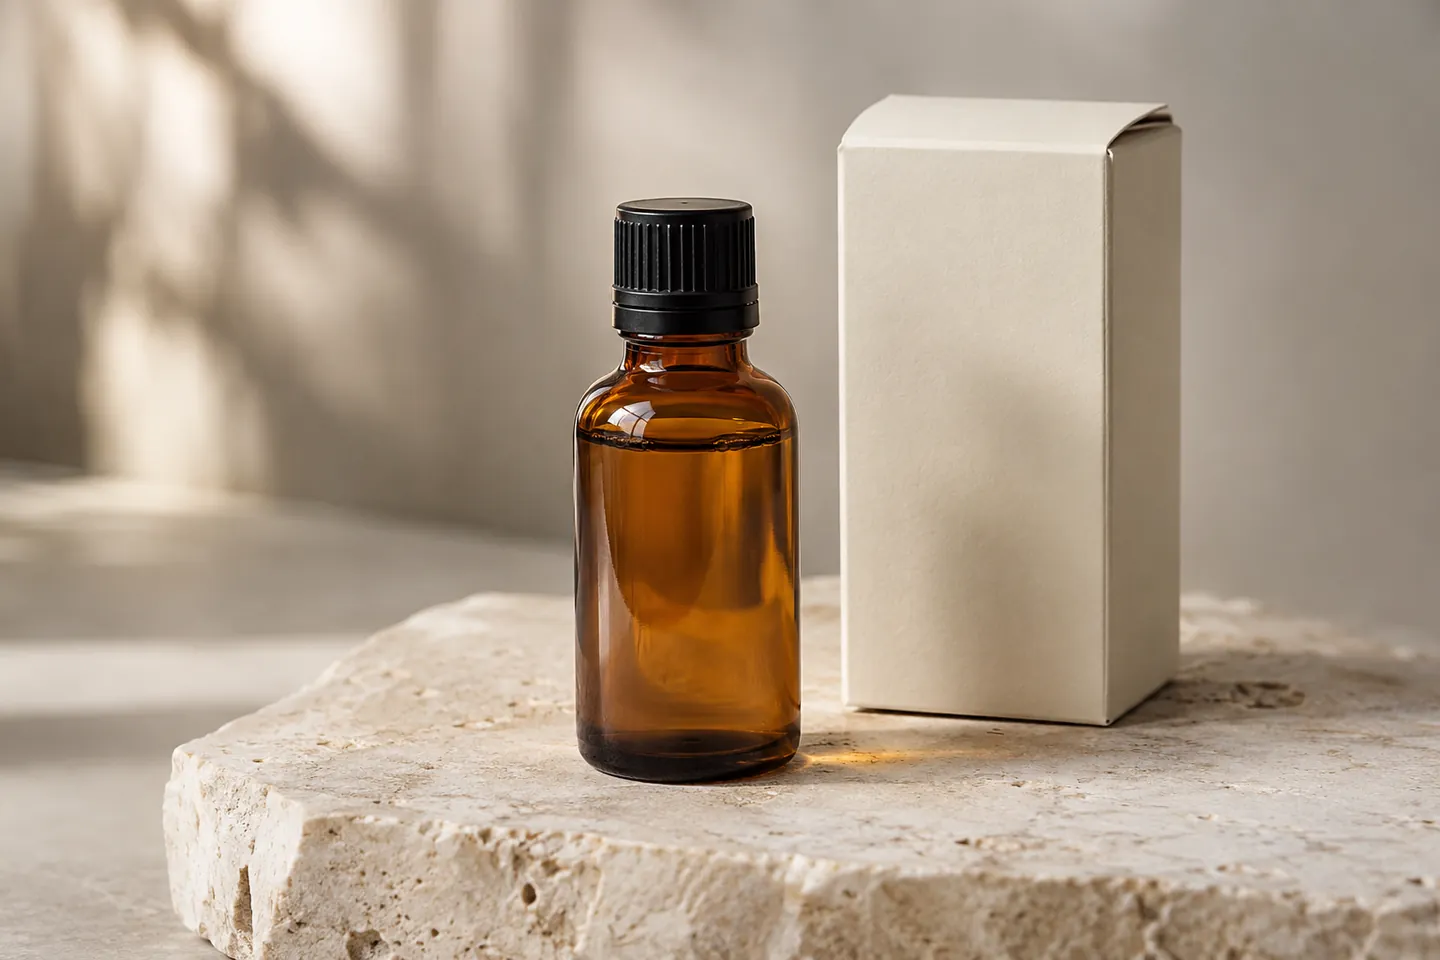
Start with the buyer’s questions
Ask which package views matter to the buyer. A front view shows shelf presentation, a three-quarter view shows depth, and a detail can show a closure, finish, or material texture.
Record label and marking details
Get the approved artwork and marking list before the shoot. Add separate frames for a label seam, a batch-code position, or a metal identification plate when the brief calls for them.
Check readability at delivery size
Use a light angle that controls reflections and compare the final crop with the approved sample. Review the exported file at the size it will actually be used.
Make a production-ready shot list
Give each row a product identifier, angle, intended crop, file destination, and any detail that must be readable. Flag artwork versions and reflective surfaces before the shoot. Ask the client to approve the list, then review one export at its final display size.
Keep approvals tied to the image files
Give the final files names that match the approved shot list and mark which crops belong to each destination. Keep a record of the artwork version and any corrected product sample. Compare a final export with the approved reference before releasing it.
References for the shot list
- Use a Packaging design reference to identify the panels and finishes you need to show.
- Check a Product identification reference when the brief calls for a legible code or part marking.
- Review Metal nameplate examples before testing lighting on engraved or reflective surfaces.
- Use a Label applicator reference to discuss label position and seam visibility with the client.